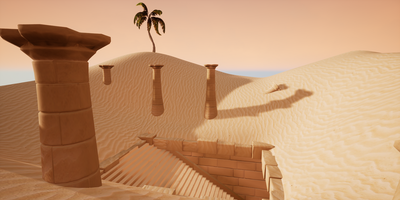
Project 2 - Diorama
Game environment for current gen systems - 6 week project
The Art Bible
For this project I was given a new set of tools to learn to help create a diorama. I had to decide on how the environment is presented. As I looked at references on the internet, I decided to go for a 'cut-out' view of a room as well as have the ability to allow the player to navgate the scene in first person. Like my first project, I created an art bible of images gathered on the internet as my point of references and inspiration.
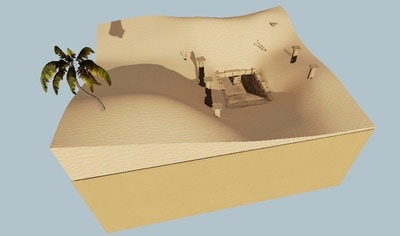
I went for a desert scene with an underground tomb. I thought this would be an interesting concept as I can blend the organic elements from the desert with the man-made structures of the egyptian tomb below. I went for a stylistic style as opposed to realistic to see what differences and challenges arise between this and my Hotel Morpheus project. Therefore, I looked at a popular game by Blizzard called Overwatch to use as my reference.
Low poly modelling and block out phase
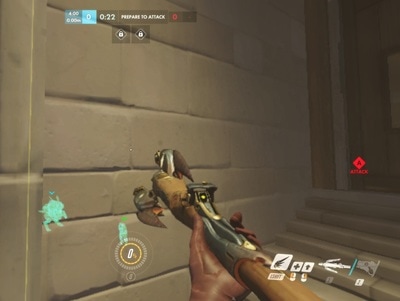
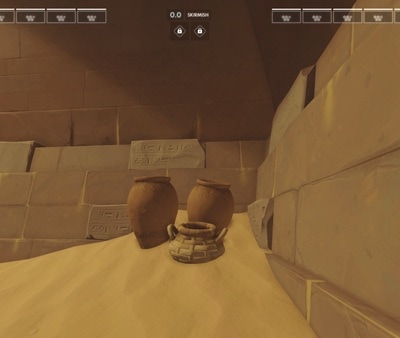
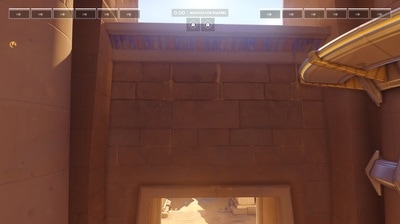
Going into this project, I will neeed to figure out what objects need to be created as well as show modularity of certain pieces. I used the level 'Temple of Anubis' from Overwatch in particular as a reference to see what ideas were implemented and how it creates the look and feel of the level.
Video of the Temple of Anubis level can be found here: www.youtube.com/watch?v=dUUV9LC5tQQ
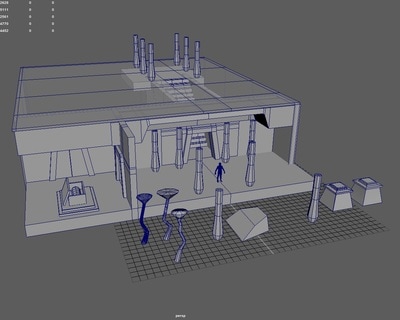
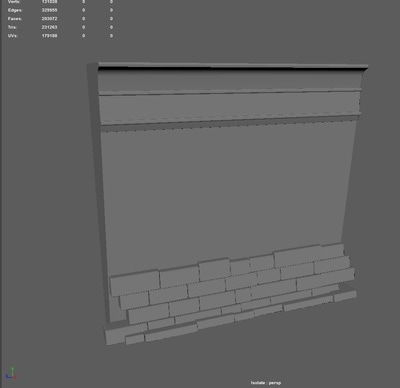
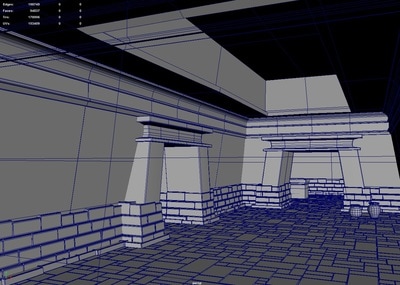
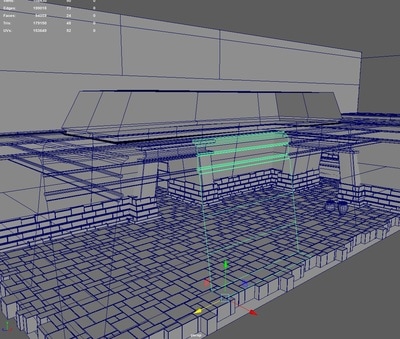
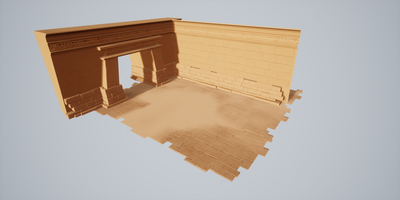
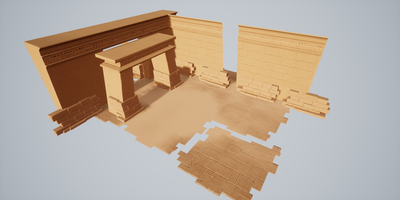
The egyptian level have a lot of slanted walls and edges that flow upwards to the roof. Also, the level consists of many brick and rock textures which show how the structures are constructed. When designing my level for the block out stage, I took modulation and player navigation into consideration. I noted a number of key visual elements Blizzard used which I added to my Art Bible as things I need to reproduce for my diorama. Below are some of the low poly meshes I created in Maya.
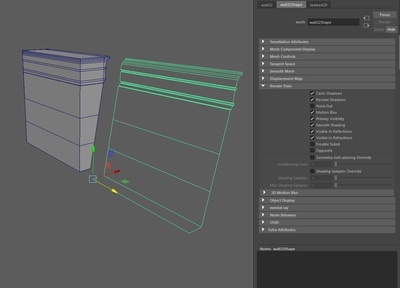
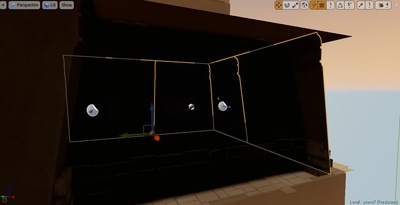
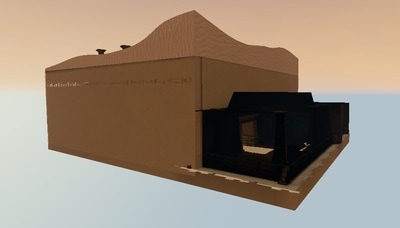
In order to achieve the transparent affect when looking from an angle, I turned off the 'double sided' setting in the render stats so that we can see through the mesh. However, due to the original version of my wall, it was not possible to achieve this affect as it was a boxed mesh, so I had to remove some faces.
There are some rules to follow when exporting to another creation tool to ensure a smooth transition and to avoid headaches in the future. I encountered a number of issues because of this.
1. Ensure my mesh is centered to the middle of the grid in Maya with history cleared and transformation freezed. This is to ensure that when it is exported to Zbrush it will be in the same space as my original mesh which in turn allows for a successful bake between the low and high meshes in Substance Painter.
2. Once the model is exported in Unreal engine, the engine will always place the pivot point at the center of wherever it was on the Maya grid (0,0,0).
3. Ensure that when creating my meshes, it is using the same measurements as the unreal grid to allow perfect snapping between meshes. This is useful when creating modular pieces and everything needs to snap in place and avoid lighting issues.
4. Another rule to avoid lighting issues is to spread out the UV shells on the UV map, if shells needed to be overlaped then a second UV map will need to be created for the lightmap in Unreal.
5. When exporting as FBX file, tick the triangulate button to convert all faces to triangles.
Exporting my models to Zbrush
Once I am happy with the low polygon models in Maya, I save them as a .FBX file and export to Zbrush. I used the Zplugin 'FBX Export/Import' to open the model. I experimented with a number of brushes and settings to try and copy the Overwatch art style. I found that using the clay buildup and clay brushes on Zsub mode gives a good result. I also tried using TrimAdaptive and custom brushes created by Michael Vicente (https://gumroad.com/l/nOkHw) who is an artist for Blizzard.
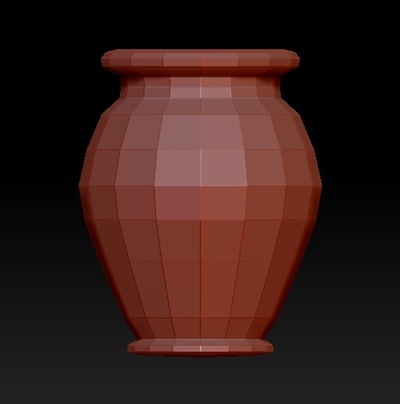
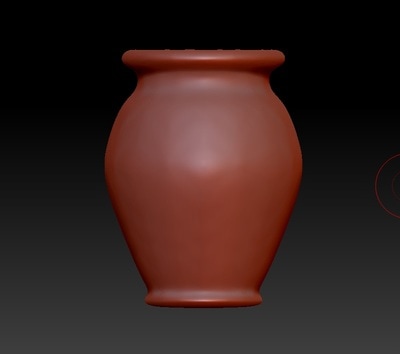
When exporting low poly meshes to Zbrush, it can look blocky such as the pot. To remedy this, I increase its subdivision, dynameshing and smoothing out the form.
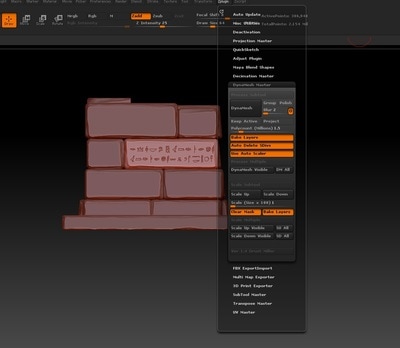
I found a really useful plugin called Dynamesh master, it has more options than the standard dynamesh tool provided in Zbrush. So instead of me manually dynameshing all my subtools one at a time, it dynameshes them all at once as well as giving me the ability to choose how many polygons I want for each. This plugin sped up my sculpting process considerably and I used this for the bricks and stairs.
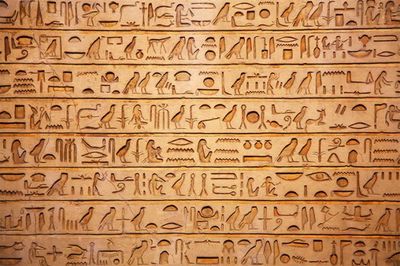
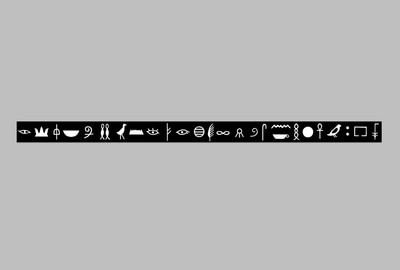
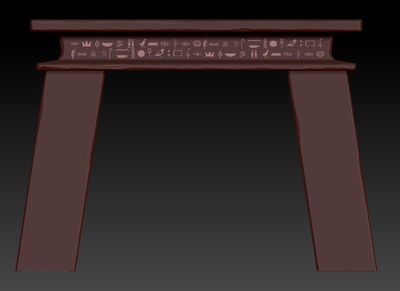
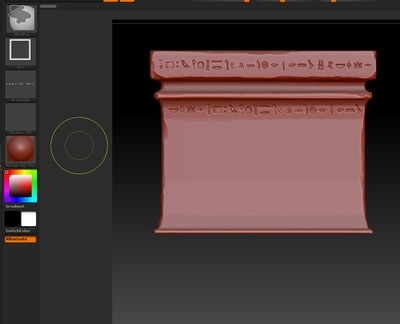
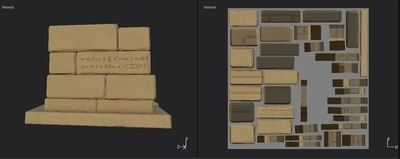
To add more detail to my objects I created heiroglpyhs on Photoshop to be used as an alpha in Zbrush. Alphas can be used with a mask to create a stamp which is used to emboss or deboss a surface. My first iteration of this was too low resolution so when I placed the alpha onto my sculpt, it didn't turn out so well. I have to make sure there are enough polygons on my sculpt to ensure a sharper result. Below are some images I used reference. The file is saved and exported into Zbrush as a mask Alpha. Once placed onto the sculpt, I invert the mask and 'de'flate using the deformation tool to create an indent.
To add more detail to my objects I created heiroglpyhs on Photoshop to be used as an alpha in Zbrush. Alphas can be used with a mask to create a stamp which is used to emboss or deboss a surface. My first iteration of this was too low resolution so when I placed the alpha onto my sculpt, it didn't turn out so well. I have to make sure there are enough polygons on my sculpt to ensure a sharper result. Below are some images I used reference. The file is saved and exported into Zbrush as a mask Alpha. Once placed onto the sculpt, I invert the mask and 'de'flate using the deformation tool to create an indent.
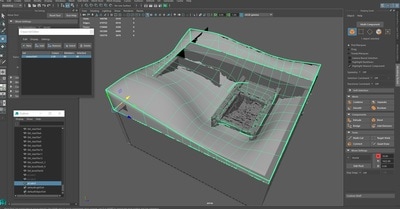
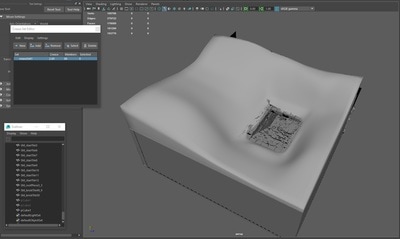
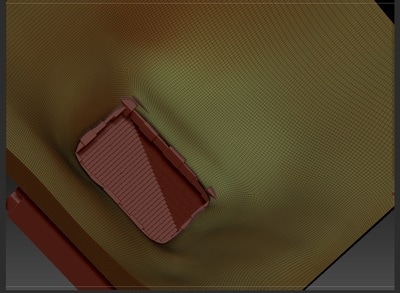
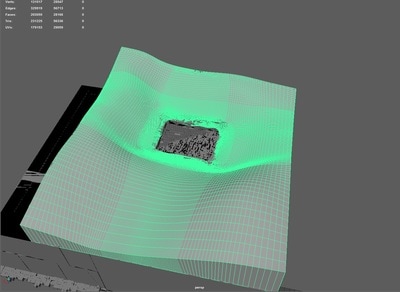
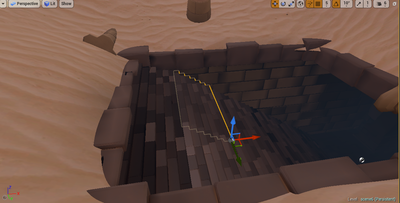
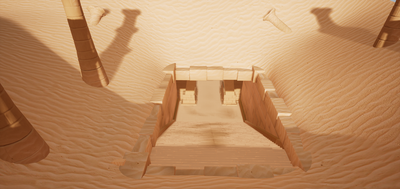
I was unsure on how to start creating my desert mesh, it was a large piece that covers the upper section of my environment. We touched on using the landscape tool in class in Unreal. However, I would like my landscape to not be square and is unsure if this was possible using the landscape tool. Also, I wanted to find out whether it was possible to cut a whole in the mesh allow the player to descend underground. I spoke to Simon about how I should approach this and he advised that it was possible to do this using landscape tools but it would be easier if I created a simple shape in Maya, exporting it to Zbrush for more details and then bringing it into Unreal engine as a static mesh. Below are some of the images to show my process. Once I had created a high polygon model in Zbrush I used Zremesher to reduce the number of polygons whilst keeping the quads and brought it back into Maya for optimising. I removed a lot of unused edge loops from the model to simplify the shape whilst checking if the hole I create fits with the rest of the scene. Lastly, I exported the model to Unreal and added textures.
Texturing in Substance Painter
Substance Painter is a powerful program as it allows me paint on the 3D model as well as the UV map. It then uses that infomation and converts them into separate textures maps in which I can easily export into the game engine. I can also use Substance to bake the normals from the high poly model I created in Zbrush to the low poly mesh rather that doing that in Maya or XNormal.
For my meshes, I looked at my references carefully to see how they used textures and colour. I tried many iterations and used the colour picker to try and match the colours they used. Substance is very similar to Photoshop in that you can have a number of different modes such as multiply and overlay as well as layers to manipulate colour. There are also a number of presets for materials, smart materials and brushes which make it easier to find what you want and adjust accordingly. There are some features which I could not find during my time with the program. I wanted to select certain areas using a selection tool of sorts for painting. I wanted to know if there was a way to rotate and scale a texture in the program.
I created a number of different materials for my models, I added a dirt layer to create subtle variations in the detail as well as add a levels layer to adjust the colour.
Looking at my references, the wall in overwatch has a brick texture on the walls. There are a number of ways to recreate this.
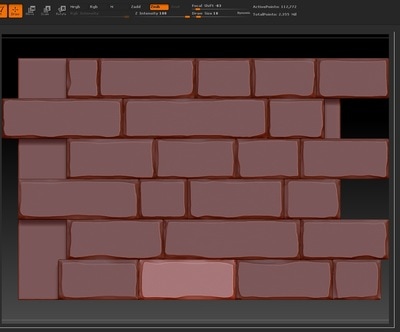
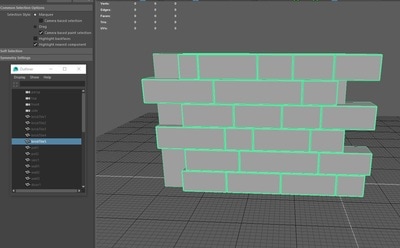
1. Geometry. I combined cubes together in Maya to create a brick wall -see brickTile5.
2. Alpha in Zbrush. I could also create this by using the same method as I did with the heiroglyphs, by creating an alpha and adding it to the high poly sculpt.
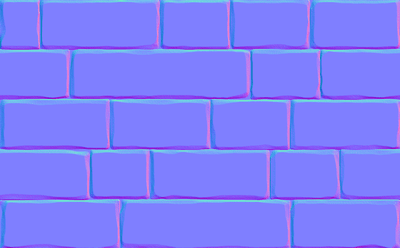
3. Normal decal in Unreal Engine. After learning about decals in class, it will be a good example to make use of this feature. I can duplicate the decal and place them on my other walls. It is a projection of a normal map on a surface making it appear less flat and adds height detail.
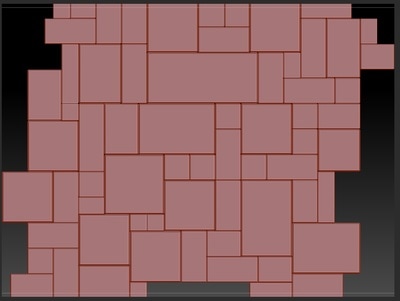
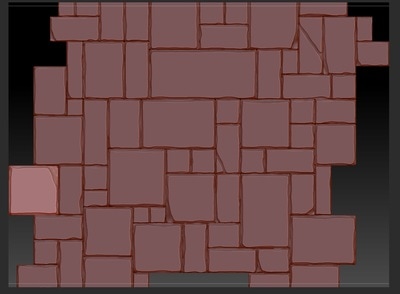
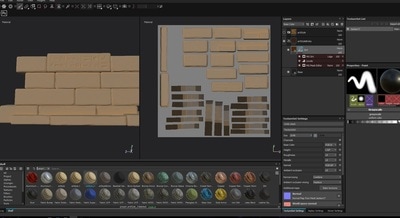
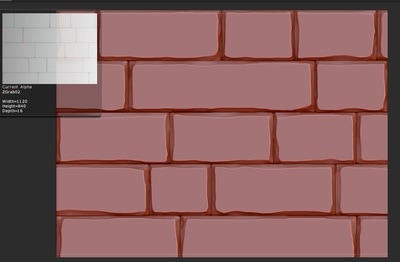
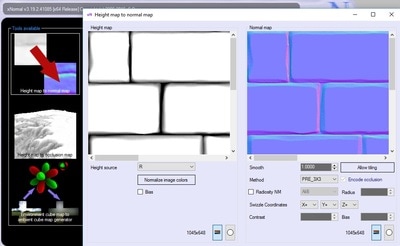
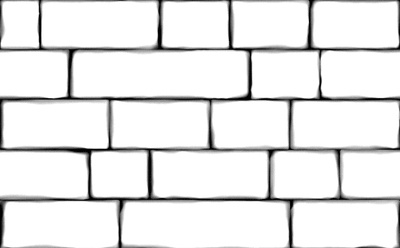
To begin, I will need the texture of the pattern so I opened up my Zbrush brickTile5 tool and used the GrabDoc button in the alpha tab to obtain a screengrab of the scult and exported it into Photoshop to edit. Instead of using as an alpha in Zbrush, I used adjustments in photoshop such as levels and contrast to create a heightmap keeping into consideration tiling and size. I brought it into Substance Painter to convert the texture into a normal map however the normal map produced in Substance was not strong/prominent enough which resulted in a weak result when imported to the engine. As I was unsure whether Substance had a way to change the influence of the normal strength, I decided to use xnormal, another program which outputs normals. I changed the parameters to create a much stronger map. I used this method for my brick decal and the sand texture for my desert mesh.
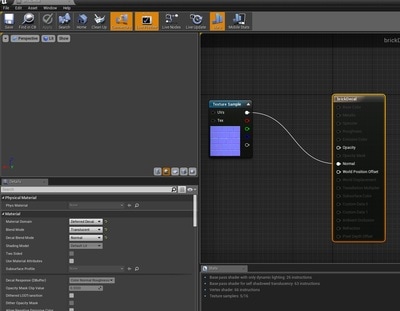
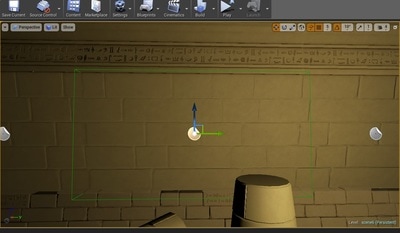
I placed the normal map into a material editor and dragged the material onto a decal actor. The results were really good and was surprised by how simple the process was. also the versatility of this feature means I can place this on any surface. The decal can be overlapped and still be seamless without causing any lighting errors to the wall.
Unreal engine
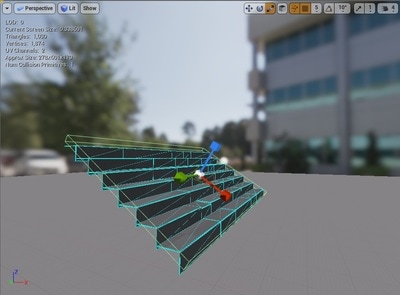
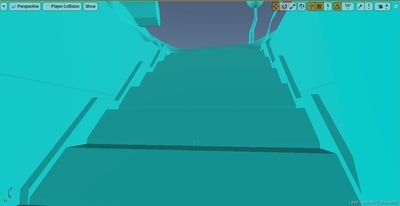
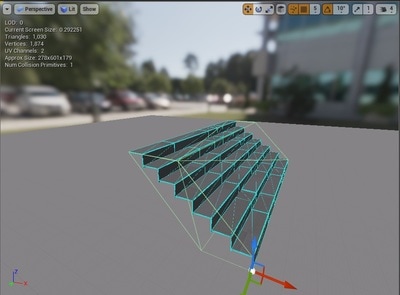
I exported all my low poly meshes from Maya to Unreal, due to me working with the grid in Maya, the transition was smooth as the meshes snapped to the correct points in Unreal. I ticked the option which allows the engine to automatically create collisions on export. This works for simple objects with flat surfaces such as my walls. When it comes to more intricate meshes such as the stairs, I had to remove the collision in the mesh editor and create my own. The stairs is important to get right as the player will need to be able to traverse up and down without any issues.
I exported all my low poly meshes from Maya to Unreal, due to me working with the grid in Maya, the transition was smooth as the meshes snapped to the correct points in Unreal. I ticked the option which allows the engine to automatically create collisions on export. This works for simple objects with flat surfaces such as my walls. When it comes to more intricate meshes such as the stairs, I had to remove the collision in the mesh editor and create my own. The stairs is important to get right as the player will need to be able to traverse up and down without any issues.
I had to move some pieces (actors) around as I felt the composition was not appealing to the eye. I wanted to create an environment that had broken-up elements and transparent walls that viewers can view into but there were considerations to be taken. The effect of the transparent wall worked using the double sided feature in Maya but I had to make the decision of whether to remove the bottom brick layer of the wall to give a clear view from the outside but it would affect the first person view, the scene would look uneven without the brick tiles.
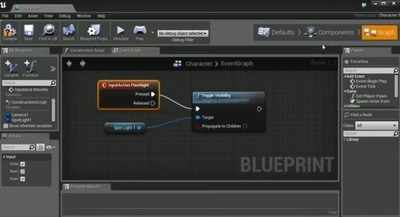
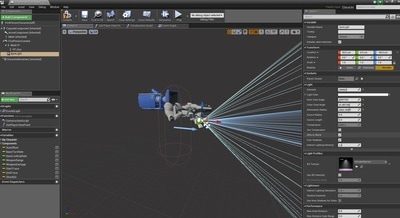
Unreal engine has its own node-based scripting system called Blueprint. It is useful for games design and creating visualisation changes. For people such as myself who aren't really into programming, this is a useful feature that breaks the barrier between learning a coding language and implementating and creating mechanics. Due to the dark interior of the tomb, I decided to attach a torchlight for the player to use. Using blueprint, I created a new input to toggle the lightsource on and off using the F key and attached it in front of the first person camera. It was relatively simple to implement as I followed a video tutorial - www.youtube.com/watch?v=tuL1k_iSIaU. I adjusted the intensity and range of the light to make it look believable.
Unreal engine has its own node-based scripting system called Blueprint. It is useful for games design and creating visualisation changes. For people such as myself who aren't really into programming, this is a useful feature that breaks the barrier between learning a coding language and implementating and creating mechanics. Due to the dark interior of the tomb, I decided to attach a torchlight for the player to use. Using blueprint, I created a new input to toggle the lightsource on and off using the F key and attached it in front of the first person camera. It was relatively simple to implement as I followed a video tutorial - www.youtube.com/watch?v=tuL1k_iSIaU. I adjusted the intensity and range of the light to make it look believable.
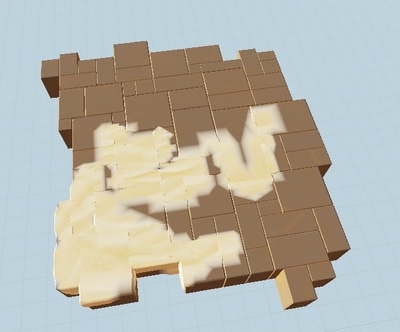
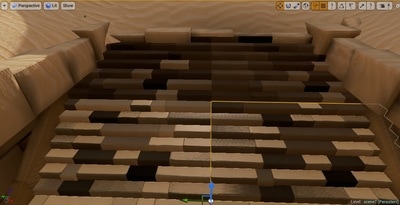
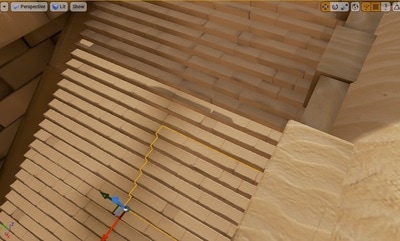
Vertex painting allows me to paint sand onto my bricks. It is straightforward to do by using the vertex colour node in blueprint and attaching two textures to the diffuse. It provided extra detail by manually blending between two textures/colours. I tried looking into the height lerp node which can elevate textures using a height map but have been unsuccessful. There is still so much for me to learn in blueprint and it is important for me to learn what certain nodes do to fully grasp the idea. I will be looking more into blueprint for my next module.
Lighting
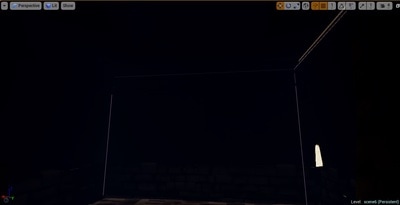
I encountered a number of lighting issues in my scene once I started to bake my level. My main source of light is the directional light which casts a shadow in a direction similar to a sun. In the image below, there are black areas in my meshes. I looked at a number of possible causes to figure out what is causing this. My initial fix would be to try and increase the lightmap resolution from 64 to 128 and 256 respectively in Unreal. Unreal automatically creates lightmaps for my meshes based on my UVs when I build my scene. However, it seems to have not remedied the issue.
I then assumed it could be due to ambient occlusion. My AO texture map should not cause this so it could be Unreals ambient occlusion setting in the engine. I checked this in the world settings and it doesn’t look like it is causing the lighting issue. Lastly, I looked at my geometry of my mesh. It could be due to polygons existing in the same space which causes zfighting rendering issues. So I did an experiment and created an alternate version of my stair mesh and removed all the faces which are not visible to the player. I needed the faces initially to be able to sculpt in Zbrush and create a hi-poly model. This seems to have reduced the dark areas significantly.
Light bleeding was another issue I encountered during my process. In my interior areas, light can be seen coming through the gaps and corners of my mesh. I checked my mesh placement and they seem to be intersecting each other ensuring that it is not possible for light to come in. Again, I believe this to be a lightmap issue, I researched online and found possible reasons for this. One could be due to lightmap resolution size or there were not enough polygons in my mesh which affects the lightmap detail. In the end, I managed to resolve this issue by tinkering with the settings in Unreal.
Post Processing in Unreal and final touches
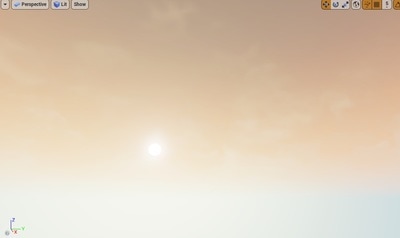
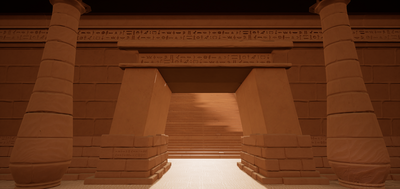
My meshes have been imported into Unreal and I am happy with the placement of the pieces-also known as actors in Unreal, I can begin adjusting the lighting and experimenting with the post processing settings. I rotated the angle of the directional light (light source) to get my desired sky colour. I went for an orange and cool blue hue for the sky as I feel it would create an interesting setting. I also used the PostProcessVolume actor found in the volumes tab to make adjustments to the scenes colour and tinker with contract, saturation etc.
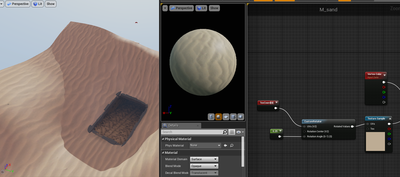
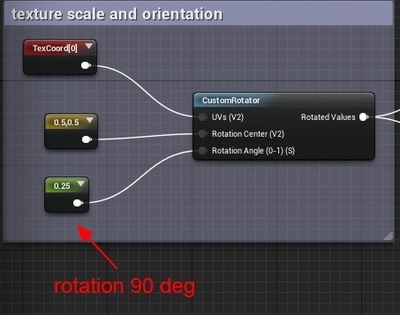
I also used blueprint to rotate and scale my desert sand texture.
Final thoughts (Conclusion)
This project has been quite challenging for me as I had to learn a lot more software in the time that was given. If I had more time, I would explore more of all these tools and find more interesting features and methods to change my current workflow. My diorama has gone through a lot of changes and alterations in terms of the models, the textures and the settings on unreal, to me it was a trial and error process to find the decent outcome. When it came to time management, I feel like I should have dedicated more time on making tweaks and changes but I ran out of time and had to make do with what I have.
Overall, I have managed to create a navigable environment using modulation and a suitable attempt to adapt to my chosen stylistic art style. As the deadline was nearing, I had to prioritise on what is a mus-have and what needs to be left out. I decided to focus on the vertex painting, decals and lighting. I wanted to design a sarcophagus to put in the tomb for the player to discover but planning what days I had left, it would take too much time and I was uncertain as to how it would turn out. I did not anticipate the time used for iterations and revising my designs which took more days than I had hoped for. However, it is vital to get right to achieve the look I am aiming for. For my next project, it would be safer for me to scale down on the size of my environment so I can dedicate more time into the quality.
